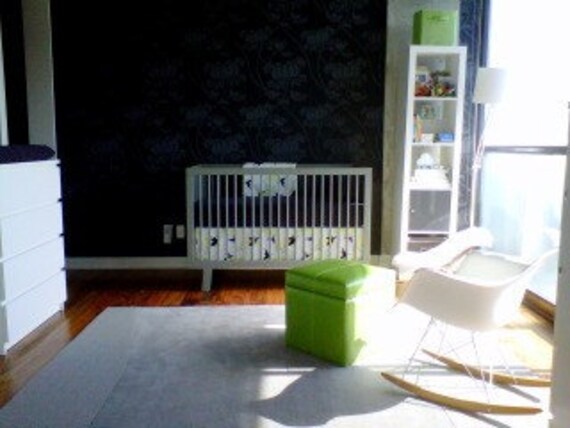
3-Piece Sets

Saturday, December 18, 2010

So many options, it's a little mind boggling! Here are just some of the 3-Piece Sets offered in our shop:
1. Fitted Sheet, Crib Skirt, Quilt

2. Fitted Sheet, Crib Skirt, Bumper Set


3. Fitted Sheet, Crib Skirt, Blanket


4. Crib Skirt, Bumper Set, Blanket

5. Crib Skirt, Bumper Set, Quilt


4 Piece Bedding

In my shop you can buy items individually, or in any combination you can think of. Here are some examples of 4 piece sets.

These sets can include:
CRIB BUMPER
- four piece crib bumper, 10 " high
- in any fabric of your choice!
- I use Nu-Foam Baby Bumper Pads, which are the idea filler for baby crib bumpers. They are mildew resistant, washable and flame retardant.

CRIB SKIRT
-in any fabric of your choice
-Up to 17 inch drop depending on your crib's measurements
-split corners
-your choice of pleats or no pleats

FITTED CRIB SHEET
-in any fabric of your choice
-with elastic all around, for safe, snug fit on mattress
-double sewn seams, serged for durability, and to ensure the sheet lasts through endless washings

CRIB QUILT
-in any fabrics of your choice
-measures approx. 36"x45"
-topstitched for durability and lightly filled with polyester batting.

**Additional accessories and upgrades also available (valance, blanket/quilts, throw pillows, etc...)


Happy Holidays

My favourite time of year :) Our little boy just turned two, the house is decorated and the tree is up!

Yesterday was a crazy sewing marathon. Today is looking to be more of the same, as I try to get my orders finished and shipped by Tuesday.

We've made some adjustments to our prices, and are planning to update our listing pictures. Our Ready-to-Ship selection is bursting at the seams with crib sheets and changing pad covers.

Soon to be listed in store are Baby Swaddlers/Bundlers, based on the design from Lotta Jansdotter's Simple Sewing for Baby:

They're going to be listed for $35 a piece, with your choice of cotton fabric on the outside, and soft minky on the inside. Simply delightful :)

So much to sew, so little time. Better get back to the real world.

Happy Holidays!


Had to Scale Back for Bit

Friday, December 10, 2010

I've been dealing with some pretty scary health issues, so we've had to scale back our production. The store is now back up and running as usual, with new custom orders shipping out at the beginning of February.


Work in Progress!

Monday, November 8, 2010

I love the design process, it is so much fun :)

A while back, a lovely lady contacted me about designing a bedroom set for her expected bundle of joy. She sent me these letters, the basis of the whole design.


My customer had a whole bunch of ideas of her own, so I really can't take credit for how it all worked out, but this is what we came up with!
First we thought that maybe we'd do something like this:


but then, she saw this set: http://www.etsy.com/listing/44562175/custom-4-piece-crib-bedding-set-any

And so, we used her colors to come up with this:


My customer liked this, so I ordered swatches, and sent them down to her. Having the actual fabrics on hand, and having ordered her crib, we made a few changes, and now we're good to go, with this design!


Next step, order the rest of the fabric, and get started with the sewing. I'll post my progress pictures as I go :)


How to Fold a Fitted Sheet

Tuesday, October 26, 2010

I make a LOT of fitted crib sheets, and over the past few months have mastered the art of folding them. I've starting using this method to fold ALL our fitteds (crib through Queen size) and I'm delighted with the amount of room I save in my linen closet, and in the office from having them folded nicely.

So, how do you do it?!

First off, make sure your sheet is clean! I like to fold mine as soon as they come out of the dryer.

You'll need a clean surface to work on, the top of my laundry system seems to work well for me. A table, or even a couch or bed would work equally well!

Now, put both hands inside the sheet, and find the two top corners (I like to work with the narrow length - my arms aren't long enough to work on the wider width!) Make sure that those corners are poked out, completely.

Place the top of the sheet on top of your work surface. Now, reach down for the bottom two corners. This time, you'll want to poke them from the outside, in (the reverse of what you did before).

With your hands still inside the corners, actually, I use my index fingers, put the bottom corners into the top corners. They should fit together perfectly. Now, holding the outside of the corners, shake out the sheet. This should cause all fabric to fall nicely, as it should. Adjust any caught pieces, so you minimize wrinkling.

Next, fold the sheet, from the bottom up, into thirds. This actually depends on the size of the sheet. My queen sheets get folded into quarters, just fits the shelf a little better!

Smooth out any wrinkles. Now, I fold each side in to the middle,and fold once more, so you get a perfect rectangle.

Isn't that pretty?

*Pictures are coming, I promise!


Separating Business from Personal

I overshare, and I don't want to scare away customers. SO, I moved my personal blog over to susiecuespersonal.blogspot.com It's password protected, so I'm going to have to add you to my list. Send me a message with your email address and I'll put you on the list!

Sorry to be high maintenance!